
PI-install is a Linux script file for automated installation of the LamPI environment on your Raspberry-PI. It will perform the following tasks:
Optionally:
Installation of the Linux image on the SD card is not part of this page, but it is required to format the SD card and load a Linux image on the card. Then, make sure you connect the PI to wired network and power it up. Go to the PI (with a console, or through a telnet/rlogin connection from a PC or other computer).
If you are able to connect to your Raspberry, run "sudo raspi-config" and set the password and other things right for your Raspberry.
Make sure that PI-install gets on your system in the "/home/pi" directory. On your Raspberry go to the "/home/pi" directory and give the following command to make PI-install runnable:
cd /home/pi

chmod 755 PI-install
Now you can run the the PI-install script with the following command:
./PI-install
PI-install will now start runnign and will ask you what kind of installation you like to make. If this PI is your first and only PI and the moment, choose "M" for master and press <ENTER>. If you have multiple LamPI installations, you can select "S" (slave) for extra PI machines to be installed.
After running PI_install there are a few things that still need to be done to configure your PI and LamPI:
First we need to setup wireless support so you can work with your Raspberry over Wifi. This step is not necessary if your Raspberry is connected to the network by wire.
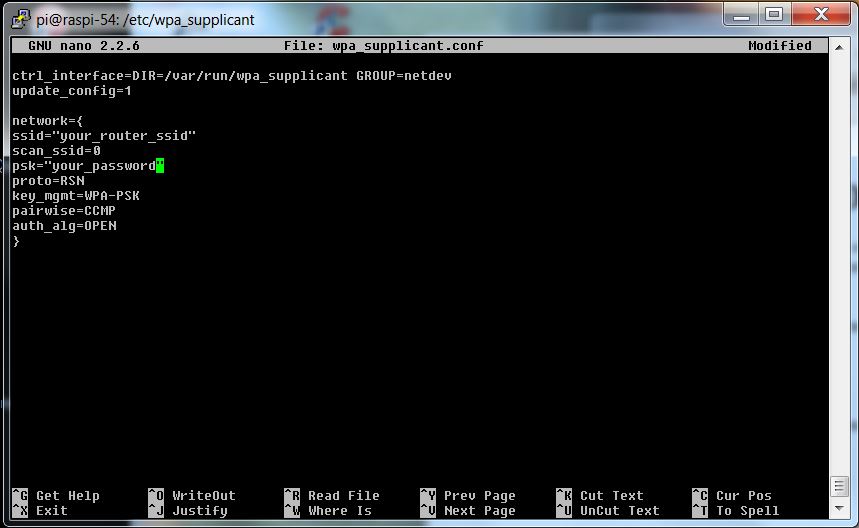
You will have to use your own SSID of your router and the corresponding password in the screen below. Now use <control> + <X> key to close the editor and to save your work.
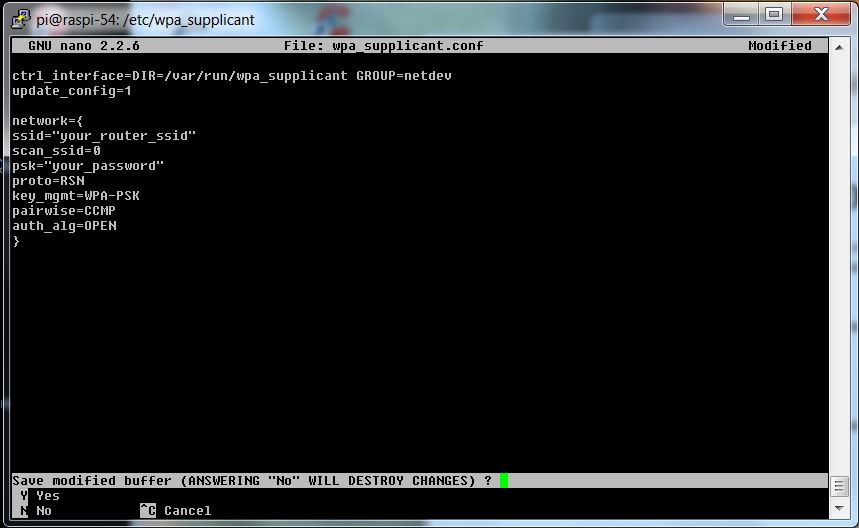
Here you choose "Y" obviously and hit <ENTER> on the filename. The nano editor will now close and bring you back to the terminal screen.
July 20, 2015